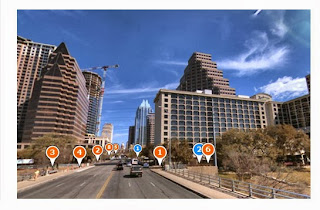
Bing Maps, Microsoft's answer to Google Maps, is becoming popular ever since Microsoft decided to overhaul it, and added hundreds of Terabytes of satellite imagery to its inventory. As a result, Bing Maps now puts up a pretty decent fight, and even surpasses Google Maps in some aspects. Maps can be infinitely useful when giving directions, and when embedded to a website, can give your visitors a lot more information about your business (if you have a physical location). They can be used to add many other cool features as well, such as IP/location tracking of the users etc. Today, we'll show you how to embed Bing Maps on Blogger Posts. These maps can be embedded on any website, and not just on Blogger. But we'll use the Blogger post editor for the purpose of showing you how to embed Bing Maps in your blog posts.
Why Bing Maps?
Why indeed? Well, for one, I have found Bing Maps imagery to be superior to that of Google Maps. Even though Google Maps' images are richer in color, Bing Maps have clarity, and allow you to zoom further in.
Furthermore, Bing Maps provide more map modes than Google Maps, such as Satellite View, road map view, Bird's Eye View, Ariel View, Streetside, and so on. More importantly, you can embed these views very easily into a webpage. And in the following section, I'll show you just how.
Embed Bing Maps in a Blogger Post
First and foremost, you have to open up Bing Maps, and search for a location. If you've used Google Maps, then the interface should be familiar. You will see a map on the right side, and a sidebar on the left with a selection of popular places, and some other options.
By default, you will be viewing a simple road map, probably zeroed in on your country. Now there are five basic types of maps you can view; Road, Bird's Eye, Aerial, Traffic View, and Streetside View. You can see these options right above the map. See the image below showing location (aerial) of the Kensington Palace, the home of the Duke, Duchess and the little Prince of Cambridge!
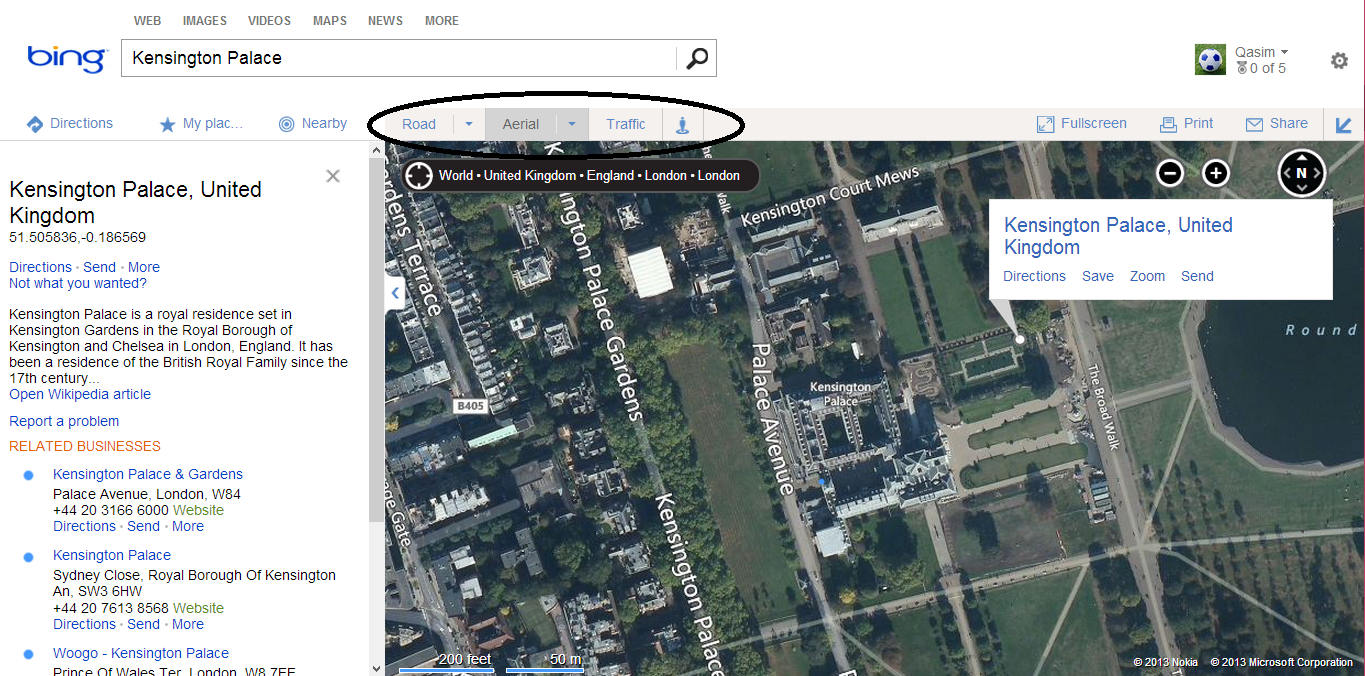
Embedding Simple Map in a blog post
To embed a simple map on a webpage, open up a location you want to show, and then click on the Share button at the top-right.
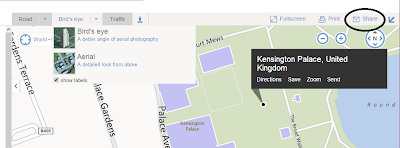
The next step is to copy the code given, and paste it on a webpage. You will also see a button that says "Customize and Preview". In this mode, you can customize the size of the map you want to embed, and also select some properties (see below).
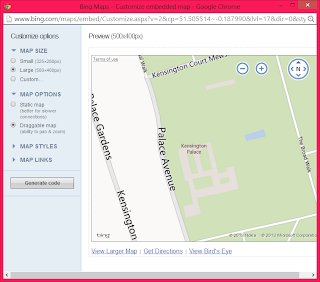
You will see a nice preview of the map as you make changes. Once you are done, you can generate the code, and then add it to the source code of your webpage!
Look at the demonstration of a simple embedded map below.
Embed Aerial / Bird's Eye view
For embedding real-world satellite imagery, you have to go through pretty much the same steps. But on the Customize and Preview screen, you will see a drop-down labelled Map Styles. You can choose a style of your choice, and then hit Generate Code.
Alternatively, you can open the Aerial or Bird's Eye map right from the start, and then go to the Share section to get the embed code. The rest of the process is pretty much the same.
The difference between Bird's Eye and Aerial is that, Aerial view shows images right from the above, as taken from a satellite. Bird's eye view shows the same image, but at an angle, possibly showing more depth and detail.
Streetside View
The Streetside View is an amazing feature, just like Google StreetView. Click on the Streetside icon above the map, and then place a marker anywhere within the blue lines that appear on the map. Streetside is only available for those blue regions. With it, you can experience roads just like you were walking or driving on it. You can't embed this view, but you can navigate to your favourite places, and snap pictures!
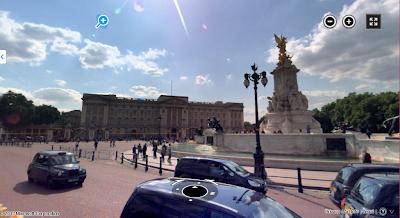 |
| Streetside view of the Buckingham Palace - Home to the British Royal family! |
Got any questions? Please feel free to ask in the comments section below. Cheers :)
P.S: Please do not ruin your valuable comments by inserting links into them! We appreciate feedback, but to a casual visitor, comments riddled with links don't present a very good picture, and give the impression of spam. Besides, there's no SEO benefit of doing it anyway. So please try to refrain from it. Just a humble request. Thanks :)
Filed Under: blogger tricks, How To Source : mybloggertricks[dot]com
No comments:
Post a Comment